| | A Painting from Start to Finish I'd like to document the stages and evolution of my current work, "Peeking Pelican." 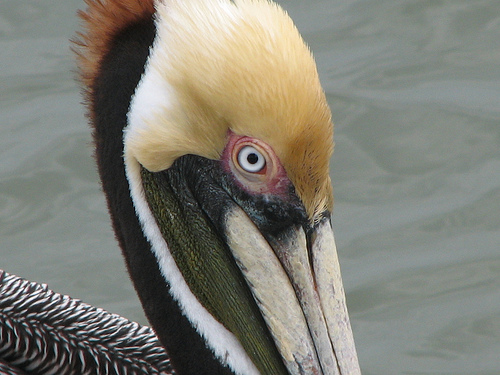
| Step One: The Inspiration I used photographs as my source for the painting. I was fascinated with the brilliant colors of these strange birds. I started with this photograph. | | I then cropped the photo to create a vertical composition, and experiemented with background colors to highlight the colors in the bird. I ended up with a pinkish grey. The stark closeup of the bird seems a little striking and should catch the viewer off-guard. | 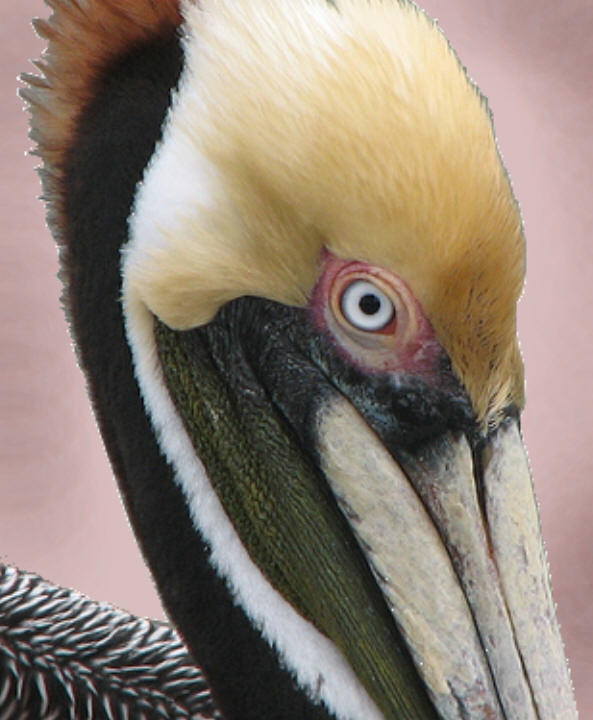
| Step Two: Getting Started 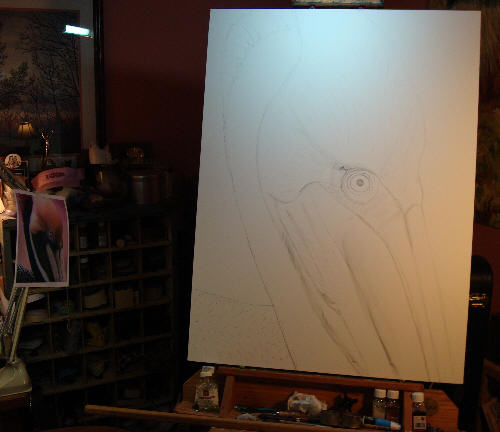
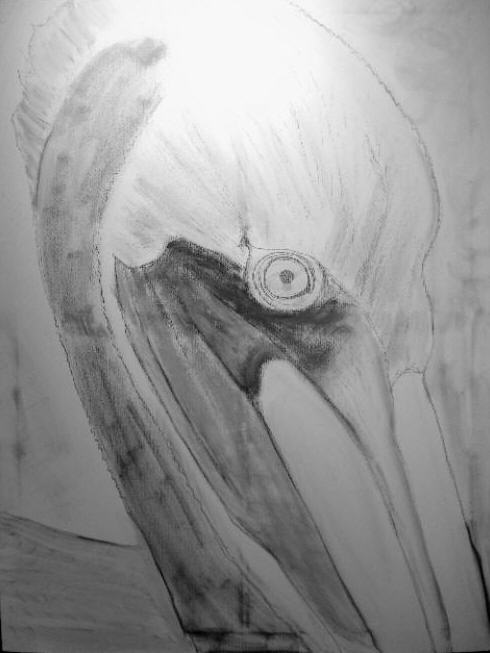
My next step was to get a basic drawing down on my canvas. I use water-soluble graphite, because I like the way I can "erase" it with a wet paper towel, and it doesn't bleed through the paint. My canvas for this work is a 30" x 40". The first picture shows my basic set-up and then a detail of the drawing. | 
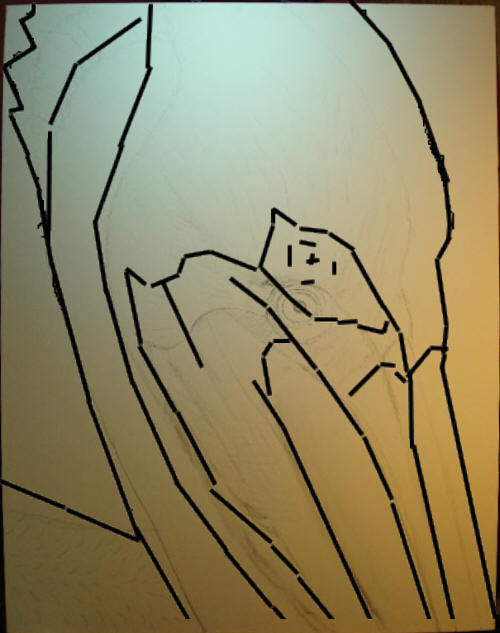
| Step Three: Working on the Drawing I used technology next to help me with the drawing. I took the original edited photograph in Photoshop and created a new layer. I created a basic outline in black and then layed this over top of my drawing that I had so far on my canvas. This allowed me to see if my basic proportions were close enough to continue (they weren't). See the two smaller pictures below. Then, I edited my drawing on canvas using a wet paper towel and water soluble pencil. This resulted in the following drawing ready for the next step (to the right). 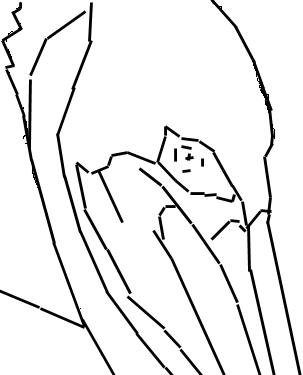
| 
| Step Four: Preliminary Painting/Underpainting 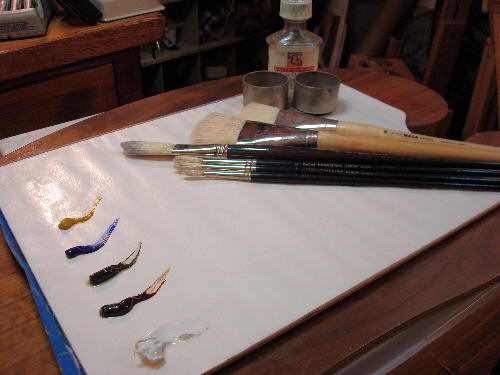
I set up a simple disposable palette (not my wooden one) with only a few basic colors (zinc white, burnt umber, raw umber, ultramarine blue, and yellow ochre), a few brushes, and odorless thinner. I made a neutral gray by mixing white, burnt umber, raw umber, and ultramarine. Using lots of thinner, I outlined the main parts of my drawing. There is something almost psychological for me about this step. The outline serves no real purpose (it will be covered later, and it is not a rigid line), but I like the feel of outlining my forms with an actual brush and actual paint. This step also allows me to get a better feel for the composition and adjust the main lines as necessary: I let this outline dry, which doesn't take very long with my water-soluble oils and thinner (no oil or medium). | 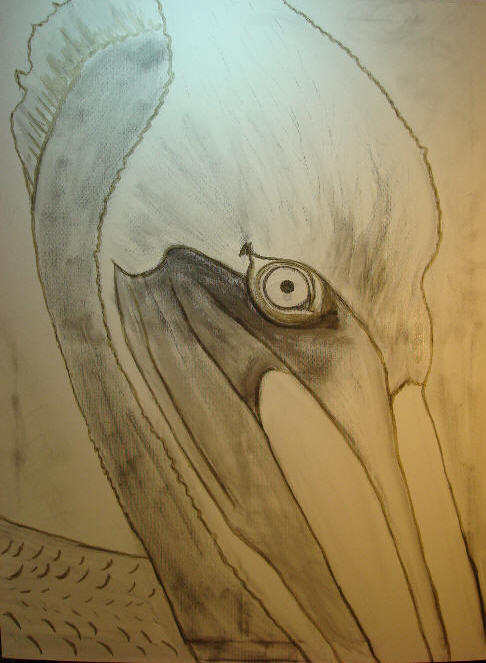
| 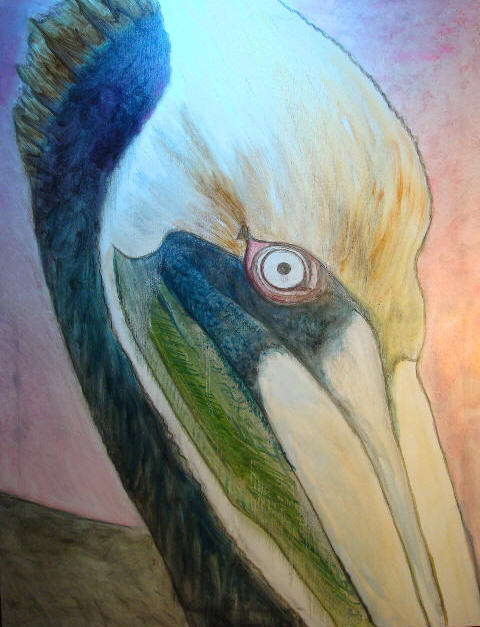 | Step Five Continued: Next, I used combinations of these same colors to create a basic color underpainting of the subject. I thinned the mixtures drastically (with just odorless thinner) so that they were even as thin as watercolor and used these tints to establish the main colors of the bird. I made a dark grey for the stripe down the left side. I added blue for the upper parts of the beak. I used yellow ochre for the head. I left white exposed to show the lightest parts of the bird. At this stage, in addition to basic color, I wanted to begin to capture the texture of the different parts of the subject. With the green underbeak area, you'll notice the running texture, but also the lines. The features of the head begin to take on their upswept character. The background starts to appear atmospheric (I even used a towel for part of this). Although at this stage, I do not pay attention to small detail, I do want the colors and textures to stand on their own because sometimes I let some of this underpainting show through. I want the painting at this stage to appear somewhat complete (although far from finished). Again, something psychological makes this stage for me a time when I can work out not just the lines of the composition, but the colors, even if the final colors appear different. If I am not happy with a painting at this stage, then I try to do something to fix it, but with the Pelican Peeking, I am very happy! All there is to do now is to wait (overnight) for this underpainting to dry completely and I can start the "real" painting. | |

No comments:
Post a Comment