| | Pelican Peeking - the Overpainting After our Florida trip, I came back inspired to finish the Pelican: 
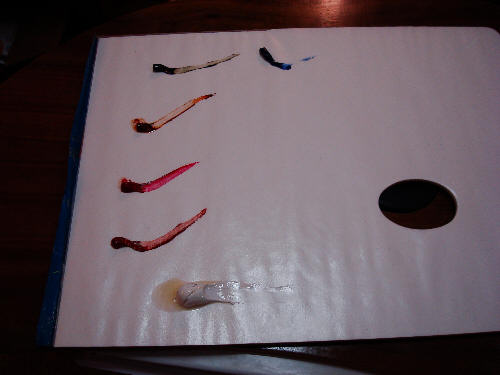
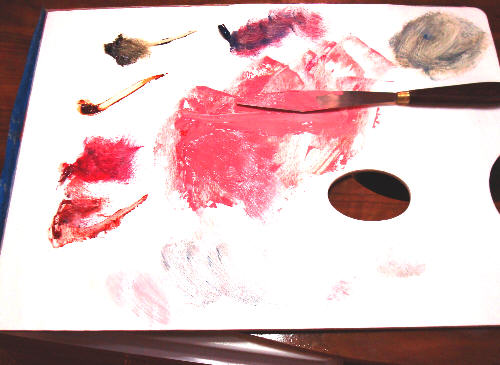
| Step Six: The Background Using my disposable palette, I experimented with color mixtures using only zinc white, burnt sienna, alizarin crimson, indian red, raw umber, and ultramarine blue. | | I knew that the rosey color I was looking for was primarily indan red (light red oxide), but I added a little alizarin crimson for a more pinkish cast. Just a hint of burnt sienna and white made my main color for the background. I scumbled in some blue and more of the reds in the upper corners. I started with white in the lower corners and I worked in some raw umber to make a little grey. | 
| Step Seven: The Completed Background 
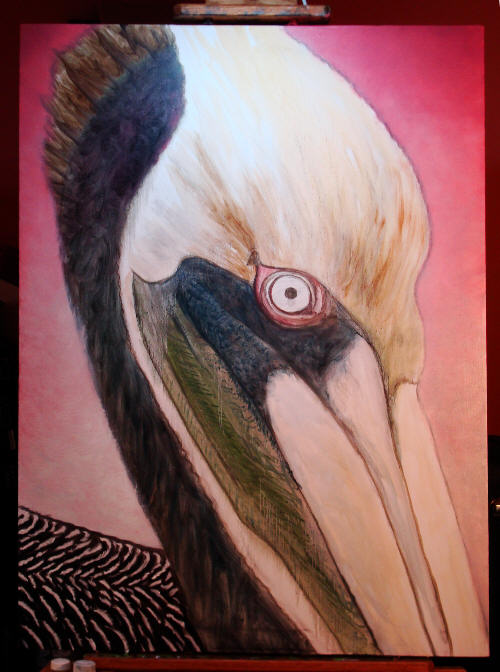
| Here is the painting with the completed background. This picture also shows the completed black and white back of the bird. I painted the white streaks first, then using a very dark umber/blue mixture, I created the darks, then highlighted the white feathers again (using some thick paint to create the wispy feature texture). | Step Eight: The Bird's Head I did the top of the bird's head next usng mainly burnt sienna, blending down to the back of the bird's head with a very dark mixture of umbre and blue. I made a light blue green mixture and made wavy strokes to capture the wooly texture there. I got carried away and didn't get pictures in between these steps! But here are the highlights: -
I did the top of the head next with an attempt to capture just enough of the feather texture to be convincing. I highlighted the right edge of the head with white and then a dark color on the vertical lines. -
I created the wooley white plume in between the dark left and the green. Using lots of paint, I piled it on to create the texture and then went back in and created more darks (grey). -
Next came the interesting green underbeak. I covered it with a base green, then made a blue green and went back to add the lines, noting the cross texture, as well as the lines that run down vertically. I went back in and added highligts in key spots to create some light. -
It was at this point with the blue green that I experimented with a scumbling approach on the beak. With a very dry brush, I scumbled over the beak with various colors, leaving most of the underpainting showing through. I only went back over at the very end to create a few lighter areas, but nost of the richness of the colors was achieved with scumbling and a very dry brush. -
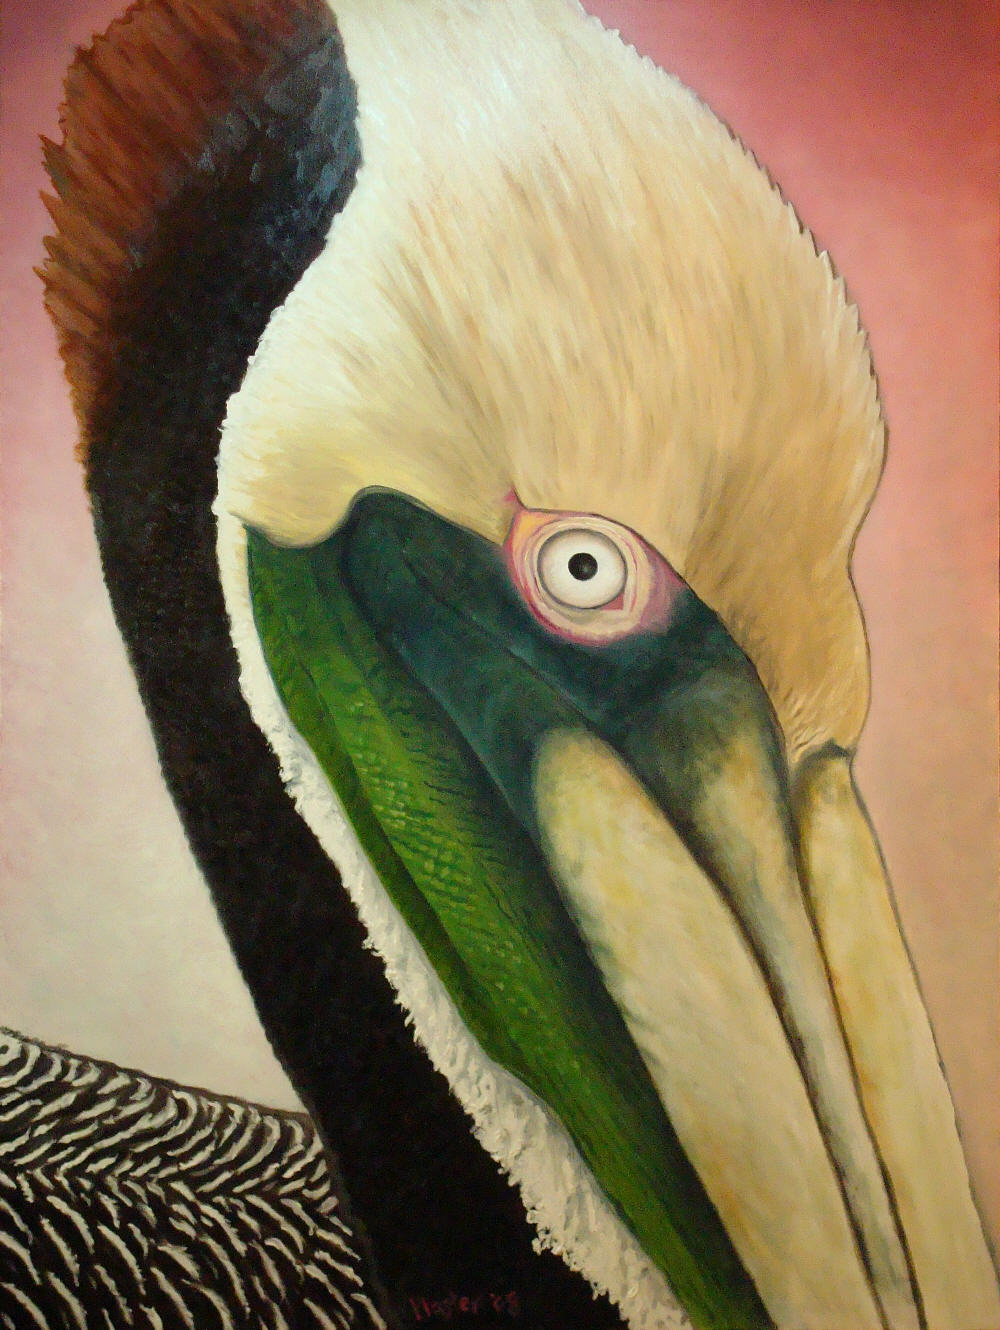
The eye was a challenge in form and because the colors. I attempted to capture the "roundness" of the eye. Note the many little round lids around the eye, which I did in a peachy color. I added a highlight in the pupil as the last touch. A Small version of the completed painting is to the right. I will post a larger version as a separate post. |  | |

No comments:
Post a Comment